One simple solution is to go retro and use a monocoque shell on the trailer, and that's what we are doing here. Although insulating foam has very little structural integrity by itself, it is frequently used as the supporting structure for surfboards and model planes that are then covered in fiberglas resin, to build very strong structures. World war I and II aircraft like biplanes and spitfires used cloth and glue over plywood to form extremely light and strong monocoque airframes. This same lost technology is an inexpensive way to build a strong, light, insulating shell for our stealth tiny house.


Foam, glue, and a linen bed sheet. Nothing to see here folks. We'll just glue these together and after it dries, I'll beat on it with a sledgehammer....


Rotate the panel 180 degrees and glue down what was the bottom edge, and glue the remaining sides, and work out any bubbles you can see. A second layer of glue is then rolled over the linen and it is set aside to dry for a day. Be careful to use spacers between panes that are drying. Even panels that seem dry can glue themselves together if you aren't careful and separating them is a pain in the ass.
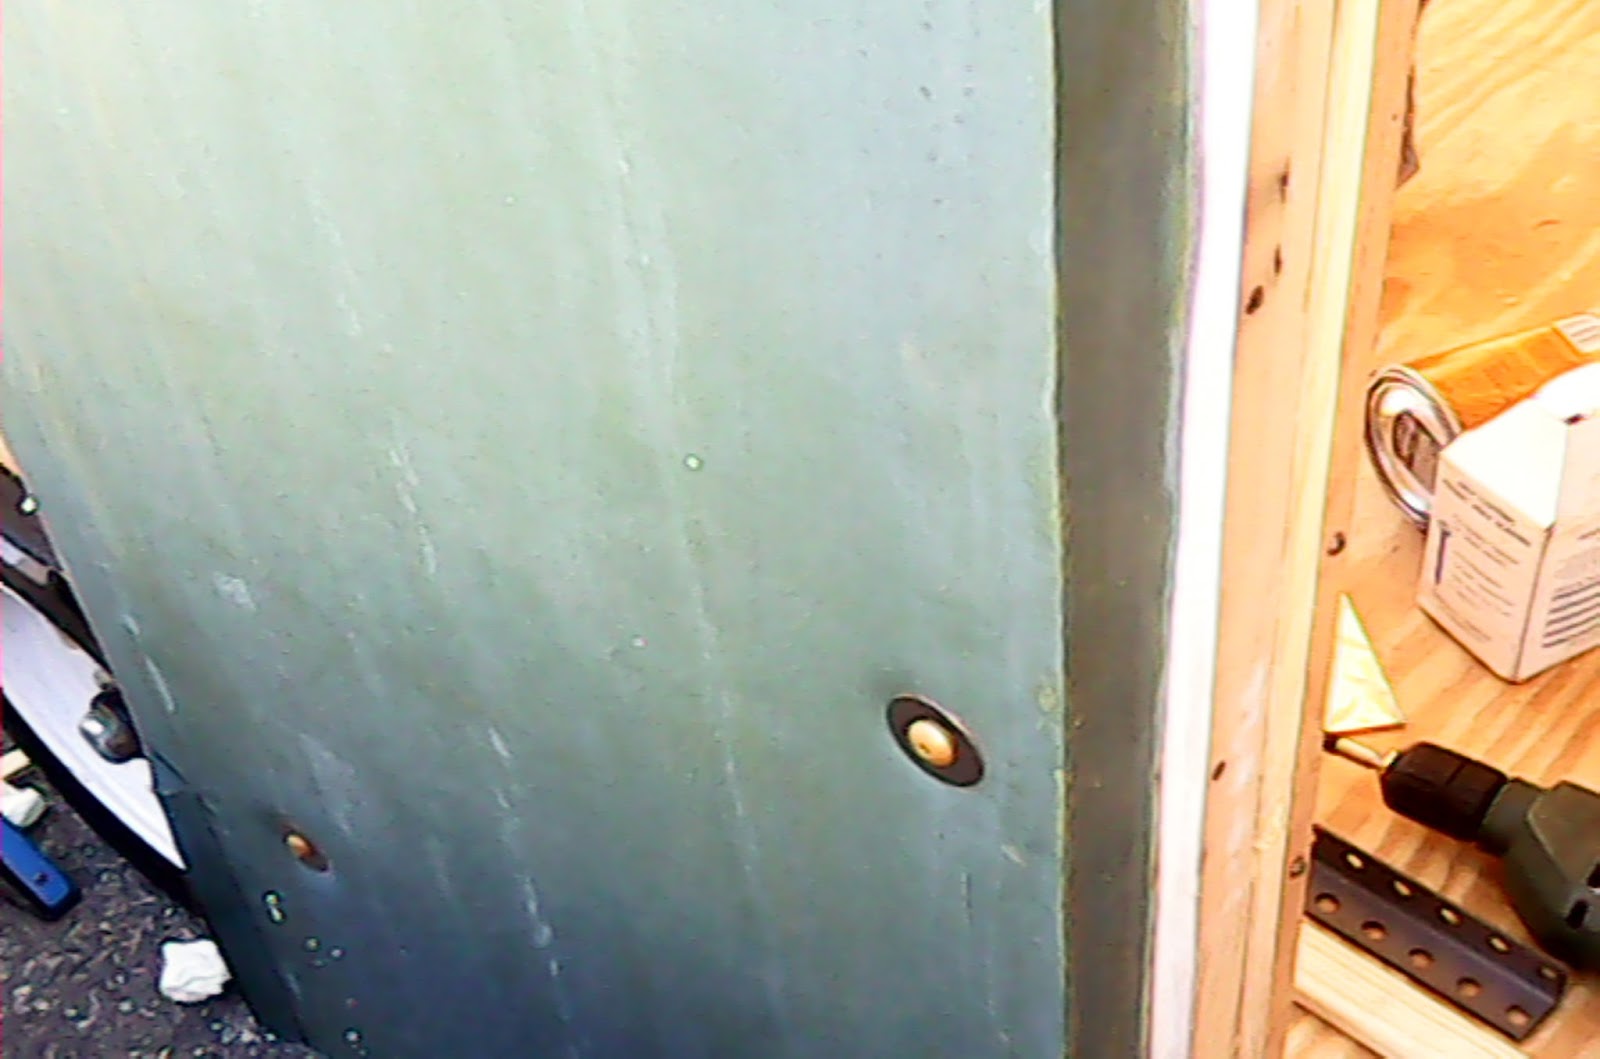
Once they were dry, we attached the plain-backed side to the plywood shell of our stealth trailer with liquid nails (heavy duty) and held it on with Lag screws passed through 2" washers. Lags that are removed have expanding foam put into the holes to further tie the panel together and waterproof the shell.
Any exposed edge will get a plastic drywall bullnose glued onto it before the final layer of linen is glued on, but it is remarkably tough and light all by itself.
It's important to note that in our build I used 2.5" lags liberally, and any lags driven into the plywood shell alone were removed after the Liquid Nails dried, and their holes were foamed. Lags into 2x4 lumber were driven until they dished the skin below flush, and thelag head and washer were foamed over. Points where panels met had Gorilla glue injected into the gap and then expanding foam over that to fill in the gaps to the surface. The dried foam was then trimmed flush when it dried so than the last layer of linen would lay smooth over it.

Copyright © 2016
Tags: Monocoque trailer design, Monocoque trailer shell, Linen over foam enclosed trailer, Enclosing a harbor freight trailer, Building a foam shell, Monocoque tiny house, Semi-monocoque trailer design, Foam shelled trailer, Monocoque stealth trailer, Insulating a tiny house, Monocoque ninja trailer, Enclosing a HF trailer, Enclosing a trailer, Insulating a trailer, How to enclose a trailer. Lightweight trailer box, Featherweight trailer box.
No comments:
Post a Comment